

In the times when people aren’t able to find graphic cards, there are some gutsy humans out there who are willing to go as far as going all custom for their builds. So this post has been made in collaboration with the DCustom Nation – https://www.facebook.com/dcustomnation
So this build is completely planned and built by Divyam who runs this little venture and I was extremely lucky that I didn’t have to face all the tremendous hassles he had to go through to build it. Plus custom liquid cooling builds are not my forte so no point in me acting as a fictional character here.
Well, I am not sure if I should go the linear way and make this post sound like any other post where I list the parts first and then share the build journey. Let’s be totally dynamic this one time.
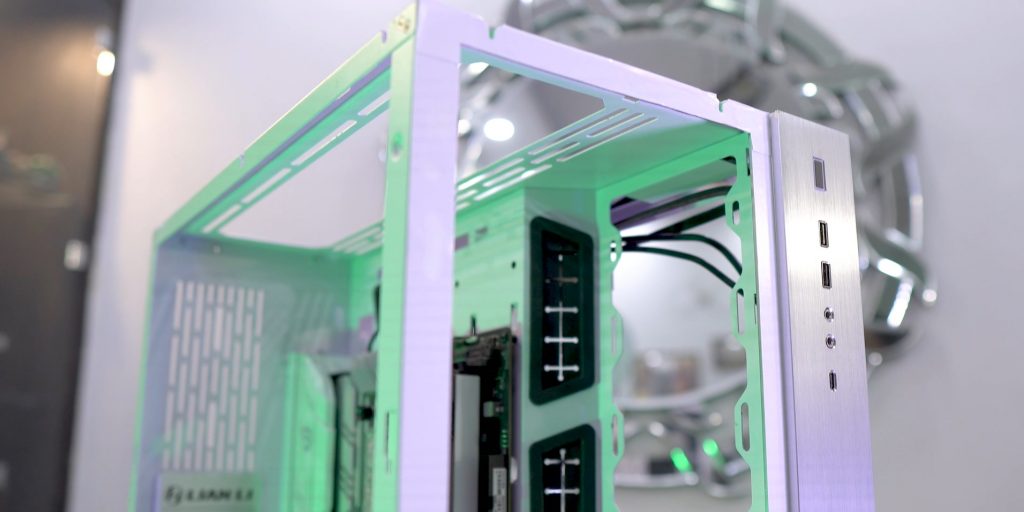
So the case we are going for is the Lian Li Dynamic O11 which was chosen by the client as it was compact enough without sacrificing much of the features its bigger brother and sister have on them.

The motherboard we used for this build was the Asus ROG Strix B550-A. And in white, it looks gorgeous. It has decent VRAM performance and all the necessary features and ports and can support up to 5100Mhz of DDR4 RAM. On the rear, the several USB ports include 6 USB 3.2 Gen 1 and Gen 2 ports with a USB Type-C port and the front would have 2 USB 3.2 Gen 1 ports with 4 USB 2.0 ports. So enough frigging ports clearly.
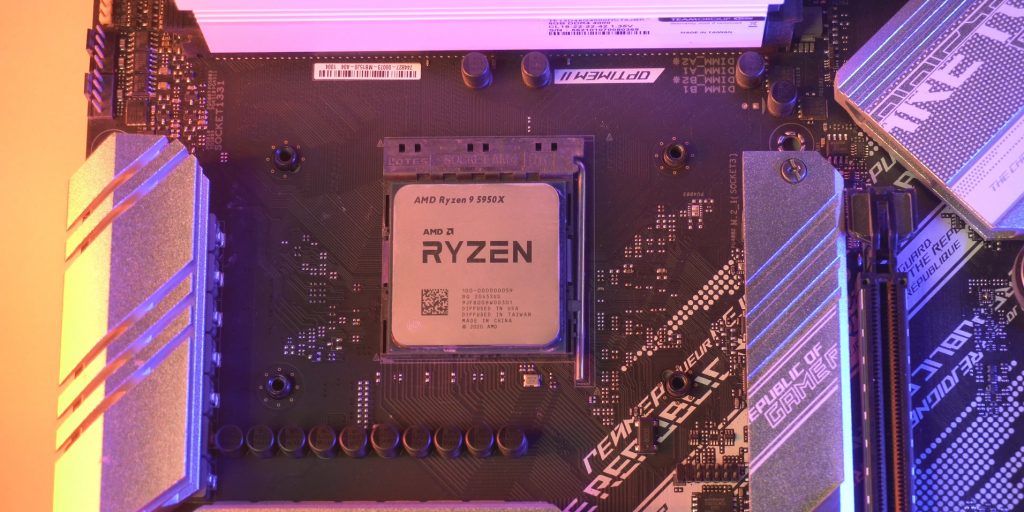
The chip used is the mighty Ryzen 9 5950X so that your life can have all the cores and their threads because why not. I mean this is an all-pumped-up build, so how can a few extra threads hurt anyone.

The total memory would be 32GB from Teamgroup. The T-force Xtreem ARGB specd at 4000MHz. These RAMs are completely filled with RGB bling all over them and they look so damn beautiful with their subtly spread lighting effects over them.

Nothing but the best for this system so the thermal grease used was the kingpin cooling KPX. Ewww what have you made Divyam.

This fancy ornament which is the AM4 CPU waterblock is by barrow. Doesn’t it look pretty? As we were obviously installing the easy parts first the next one was the Samsung 970 Plus NVMe. And over goes this pretty heatsink.

There goes the motherboard inside the case because nothing’s real without mothers and boards.

Then goes the Cooler Master MasterFan MF120 Halo white fans on the bottom and we made sure that the air is sucked from the bottom which this case shouldn’t have troubles with due to its tall ass feet.

Then goes the 360mm radiator on the back side of the case which is again from Barrow and these were specially custom painted in white to suit the overall theme of the build. And on them go the 3 fans which are to be used as exhaust this time.
On the radiator these 90 degrees fitting extenders go in which are again from Barrow. One is obviously for an inlet and the other is an outlet as what goes in must come out.

Well one of these fittings will vomit out the cold water which will go and hit the hot damn CPU and then come out hot and then travel along all the other loops to enter the rad again to get cooled down. Got it? Good.

And if not then here is a little picture explaining the flow of the liquid by the end of the build. We follow the similar trend for the top of the case making the fans as exhaust again.

After putting these fittings on the CPU block we move on to placing the vertical mount for the GPU. The back side grill was cut to accommodate the GPU block. Then we start to disassemble the sweet Asus TUF RTX 3080.
Ok quick little fun story. The guy had bought and imported a water block for the RTX 3080 FE but even after waiting for months we were not able to get our hands on it. So in the end we gave up and went with the ASUS TUF instead. Yes, a lot of money was lost but you can’t put a price on the pure passion of having one of the most beautiful setups when you can afford one.

And then we apply the same kingpin thermal grease on the GPU die. Damn this guy really knows how to apply his thermal grease, I mean kingpin’s thermal grease on the GPU die. And then after a few thermal pads on the memory modules, we place the water block on the GPU PCB and tighten all the screws back in.

The GPU is already looking good and we then place it on the vertical mount we just installed.

This custom distro plate is completely custom and is made by the D custom nation and this part of the video is uber custom because of all the custom words. But man I really loved how it turned out to be in the end and this isn’t even its final sight.

Soon after installing all the fittings on the GPU and the distro plate and on the CPU block this guy does his magic in leveling them up and shit which would be pretty boring if I try to show all of that in the video.
And then more custom stuff is then installed on this custom rig.

If you know more than me about custom loopy liquid cooling then you’d know how crucial this step is where you check the air pressure and make sure there are no leaks throughout the loops.

And here you can watch us filling liquid stuff in one of the holes of the distro plate. We chose the white-colored liquid here to go with the overall white aesthetic of the build.
Then we do the easy parts like putting the hard drives in and the power supply and connecting all the typical connectors of the case. If you want to know what goes where from a PSU or generally about the different connectors on a motherboard here are few videos which explain them more thoroughly:
https://www.youtube.com/watch?v=M_KWSR917aY
https://www.youtube.com/watch?v=xwGXMt7YrN8


As you can see there was a huge improvement in the thermals after everything was replaced with custom liquid cooling over the CPU and GPU blocks.
And this is almost it. Enjoy the little b-roll footage in the pinned video above. Stay safe humans. MuBot out.