
Antec sent me these 2 AIOs and I will do what I usually do when I have 2 different-sized AIOs from the same brand – that is to compare the hell outta them.


The 240mm AIO I got is in black color and the 360mm one is in white. Yup, pretty diverse.

The material finish on both of these AIOs feels decent enough. And the white paint finish on the 360mm AIO felt pretty good too.

The fins on the radiators of both of these AIOs had no weird bents on them and were pretty clean.


These AIOs currently support all the current AMD mounts up to AM4. And Intel’s LGA1700 socket too. Most of the brackets for both platforms are metal. Only the LGA1700 socket has a plastic backplate. All the brackets of the 240 and even 360mm AIO are black in color.


And surprisingly the 360mm AIO came with TR4 mounting brackets – as Antec was pretty sure a 240mm AIO will not be sufficient for it. But shockingly they have not mentioned this on the product page – which is kinda like an ax to their own foot.

And of course, both the AIOs came with a ton of screws, washers, and standoffs. And a small dose of thermal paste is there too. Wow, this is such a lazy shot.
The supplied manual is a 1-page printout and the instructions will not be easy to decipher if you aren’t someone who has been building PCs for a long time. But even if you have moderate experience, then this should not be hard to understand.
The AIO fans are preinstalled on the radiator which saves a decent amount of time if you are opting for the same orientation. You can of course remove and mount them on the other side if you want.

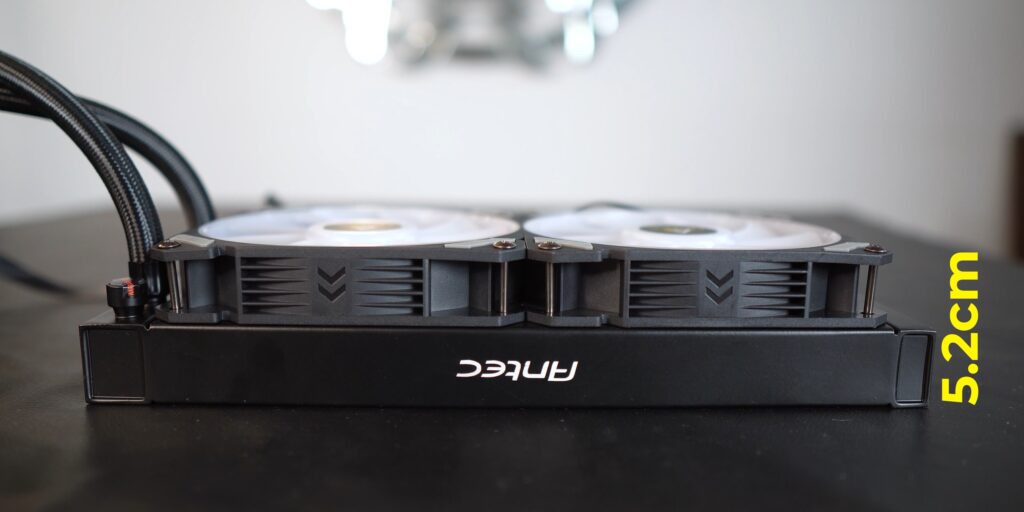
The fans stated air pressure is 2.1mm H20 – which is decent enough for static fans. They also have noise damping rubber pads on the 4 corners. And the fans along with the pump are ARGB controlled. As RGB without an address isn’t even considered proper RGB anymore.

The tubes bend quite easily – as a matter of fact, it felt as if they really love bending. And the sleeves are also of decent quality. I bet I have seen these ones on many AIOs now.

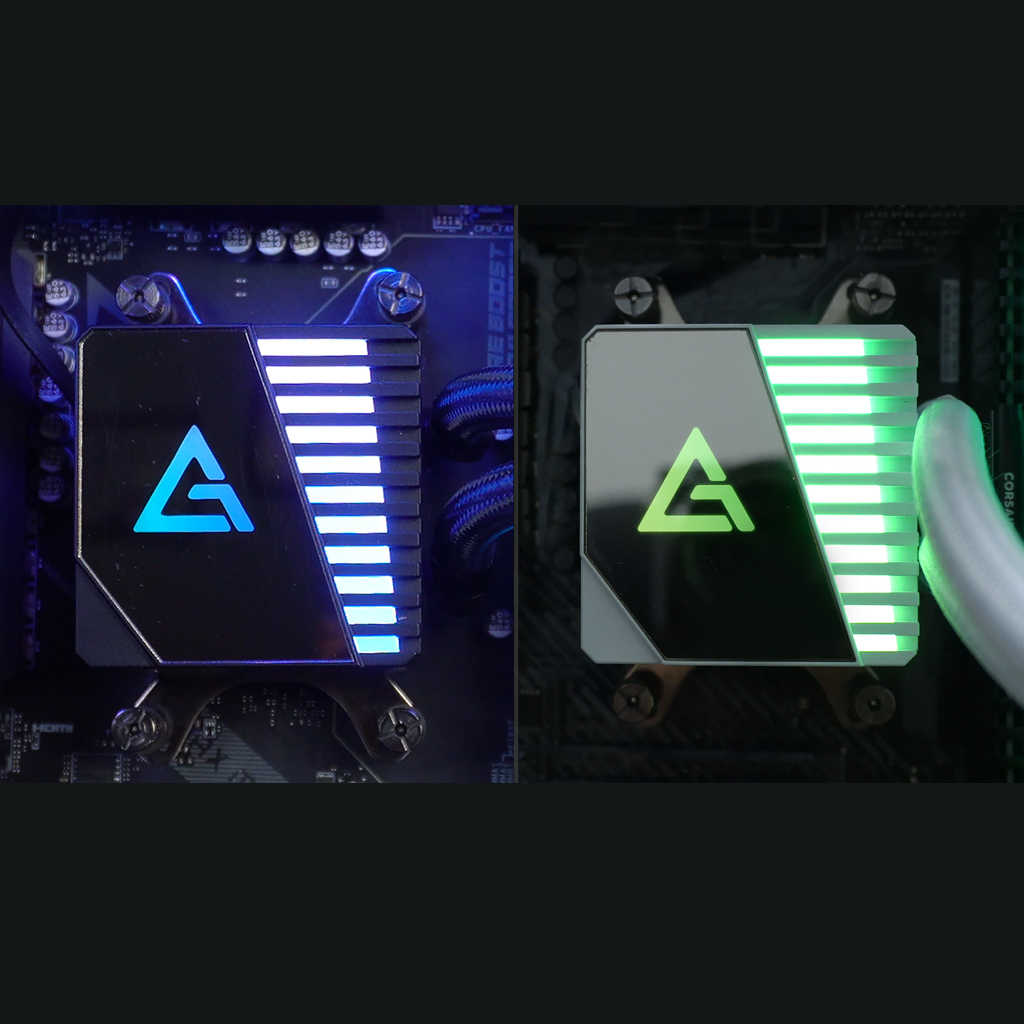
The pump has a notable size(pump 6.5cm x 6.5 cm, depth – 5.5 cm) and looks quite chunky. The mirror finish on it might give an impression that the pump comes with a display on it. But these are nothing but a few nicely designed RGB elements that I will show later.

The copper base plate covers a good amount of area too and is almost completely flat.
Installing these 2 AIOs one by one for testing, without having a dedicated test bench took a lot of effort. But someone had to do it. And it should be obvious the installation process of both of these AIOs is similar.
I have a Ryzen 9 3900X so I am going to install these AIOs on top of that chip and test them at different wattages.

So to install this on an AMD chip, I first had to remove the stock AMD mount and backplate from the motherboard.

Then I chose these groups of washers, standoffs, and screws for the AMD platform. I was easily able to do so as their packaging had clear labels on them.
Then on the common backplate, I installed the screws with their washers on the correct hole, which was shown on the manual page. But even if you want to just skip looking at the manual page and just try your luck by just aligning the backplate on the holes, then that can also work.

Make sure you remove the sticker from the pump copper base plate otherwise you’d have no idea why this is happening.

And at the other end, I inserted the 4 plastic standoffs. Now, these standoffs won’t fit tightly until you put the pump over it and then screw in the pump too.

But before you can just easily put the pump there, it will remind you that more installation is left. As you have to screw in these brackets on the sides of the pump before it can land up anywhere else.
Then I applied the thermal paste in the weirdest manner possible – to stay true to my character.


Installing the pump will be a nightmare if you are trying to shoot and install it at the same time as me. But it will definitely be easier if you have a couple more hands to help you with this part. As the backplate needs some serious pressure on it as you try to put the pump on and then screw its screws alternatively.

Even after the pump gets installed and it fits perfectly, the screws will keep rotating endlessly. And this happened with both the AIOs. This is happening because the free play carries to the screws on the back too, as somehow the locks on the backplate don’t really keep them locked.

But because the pump sat pretty nicely and wasn’t loose at all – well that kinda assured me the installation is over – almost. Then I simply installed the radiator on the top shelf of the case, facing the fans downwards so that they can throw the hot air outside from the top.

The fan’s connectors and headers were already daisy-chained, so you will save a few precious minutes here.

The SATA power connector that will power the pump will connect to the power connector from your power supply. And then the 3-pin power connector will go on the AIO pump header or the CPU fan header on your motherboard.

I also daisy-chained the ARGB connector from the pump to the fans and then connected that to the ARGB header on the motherboard. And the 3-pin power connector from the fans will go to any of the fan connectors on the motherboard.
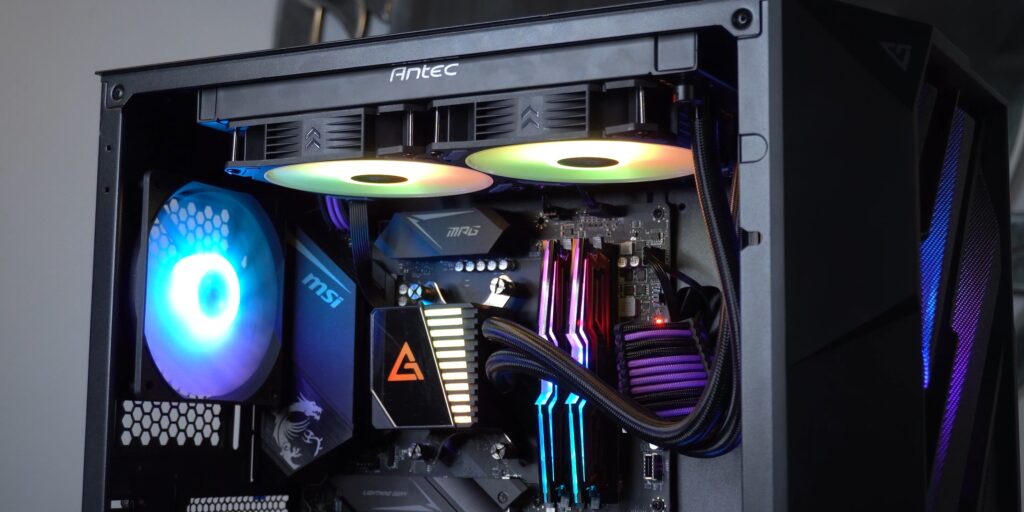

Yeah – that was definitely some work. But the AIO looked really gorgeous to me once completely installed. The pump design looks pretty nice and the RGB elements are ample bright. The white 360mm AIO looked gorgeous too and had a nice, distinctive look to it even inside a black-themed case. As a couple of years back that was all the theme we had as an option.

The fans and the pump easily got controlled by the MSI’s motherboard software. This made me feel happy that we still control these little machines and not vice versa.


And when it comes to the job these have been built to do, both the AIOs performed darn good for the price they come at. It’s pretty hot here so the test couldn’t be quite conclusive at the 200W mark for the 240mm AIO. But it was pretty nice to see it perform so well at around the 150W mark. Anything above the 150W mark will be a challenge for the 240mm AIO especially if you live in a warm city without an AC in your room. But this is where the 360mm AIO option looks more viable which will be good for even chips that can produce heat around the 175W mark.
Also, it was pretty nice to see a good difference between these 2 different-sized AIOs as compared to my experience when I compared the same-sized AIOs by Thermaltake recently.

Pushing the fans speed to 1600 RPM manually improved the temps slightly. Not sure why I had to do it manually. The motherboard should have kicked this itself.
The fans of both of these AIOs don’t produce noise which is more than what I expected anyway. (Sound test in the video)
So the symphony 240 looks like a great option for processors up to Ryzen 5s and Intel I5s. And the 360 one looks good enough for processors up to Ryzen 7s and even a few older Ryzen 9s – like the Ryzen 3900X. But for Intels I’d say don’t go above the Intel i7s especially if it’s from their 12th Gen family.
I think there is a reason why these AIOs perform so well for the price. There’s rarely an AIO that costs around 8000 rupees or 100 us dollars. The installation process was a bit lengthy and I guess that’s where Antec decided to save some of the investment by not opting for a more modern mounting design. But they have rightly diverted that investment into how the AIO looks and performs. And as 99.9% of you would just install the AIO once and will be done with it for a few years, going through the cumbersome process once doesn’t feel like a huge task.
💬Discord: https://discord.gg/TsMHuPhjQ2
You can also hop on to our discord server for more chit-chat on relevant content.
So stay safe humans. MuBot with another AIO couple – OUT.
